
Introduction
Designing a book, flyer, or magazine may sound difficult, especially if you think you need expensive software to do it. Many beginners feel confused when they see professional layouts and wonder how they can create something similar without spending money. The good news is that you don’t need costly tools to design high-quality print materials anymore.
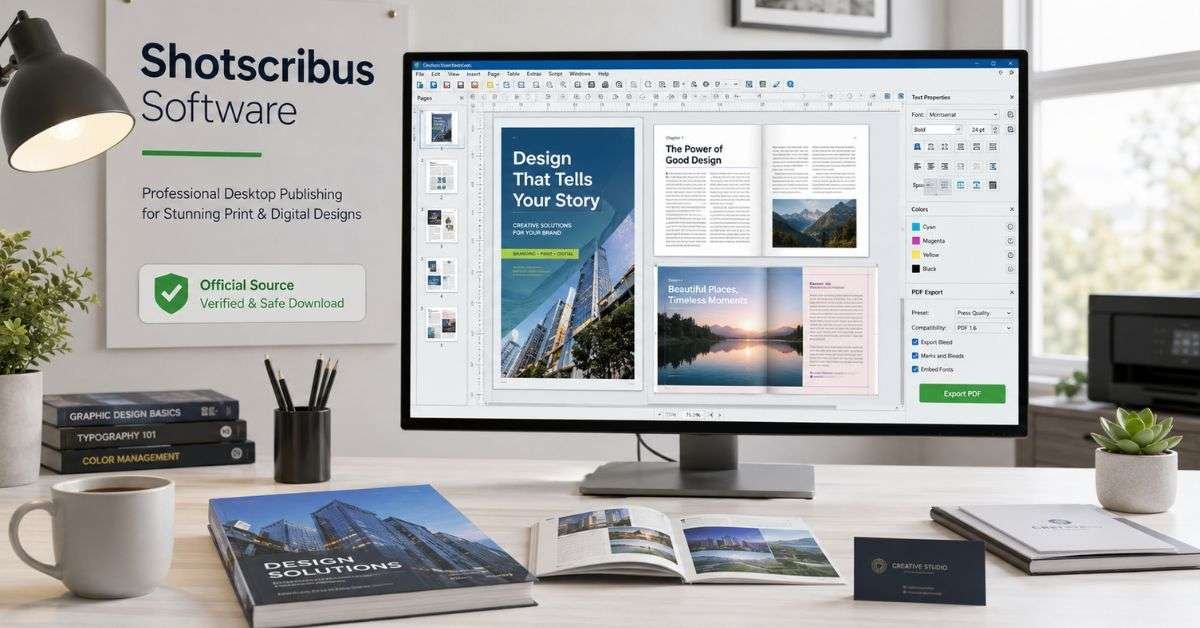
Shotscribus software is a free desktop publishing program that helps you create professional layouts for books, brochures, posters, and more. In this guide, you will learn how to download, install, and use shotscribus software in simple steps. Everything is explained in easy language, so even beginners can follow along and start designing with confidence.
What is Shotscribus Software?
Shotscribus software is a free and open-source desktop publishing program. Desktop publishing means creating layouts for printed materials like books, magazines, and flyers. Unlike basic graphic design apps, this tool is made especially for print design. It supports:
- CMYK color (used for printing)
- High-quality PDF export
- Professional page layouts
- Text and image control
Many self-published authors and small businesses use shotscribus software because it gives professional results without high costs. If you want to design something for print instead of social media, this tool is a great choice.
Why People Use Shotscribus Software in 2026
In 2026, many creators are looking for free design solutions. Paid tools can cost hundreds of dollars per year. Not everyone can afford that. Here are the main reasons people choose shotscribus software:
- It is completely free.
- It works on Windows, macOS, and Linux.
- It supports professional print standards.
- It allows full control over typography and layout.
Students, teachers, authors, churches, nonprofits, and small businesses often use it to save money. Another big reason is independence. You don’t have to keep a membership. Once installed, you can use it anytime.
How to Download and Install Shotscribus Software
Installing shotscribus software is simple if you follow these steps.
Step 1: Download from the Official Website
Always download from the official website to avoid viruses or fake files. Make sure you choose the correct version for your system:
- Windows 11 (64-bit recommended)
- macOS (Apple Silicon supported in 2026)
- Linux distributions
Step 2: Install the Program
On Windows:
- Open the downloaded file.
- Click “Install”.
- Follow the setup instructions.
On Mac:
- Open the DMG file.
- Drag the app into the Applications folder.
- Allow permissions if asked.
Step 3: Install Ghostscript
To export advanced PDFs, install Ghostscript. This helps you create print-ready files for professional printing.
After installation, open shotscribus software and create your first project.
Understanding the Workspace

When you open the program for the first time, it may look complex. Do not worry. Once you understand the layout, it becomes easier.
The main parts of the screen include:
- The page area where you design.
- The toolbar with text and image tools.
- The properties panel to change fonts, colors, and sizes.
- The pages panel is for multi-page documents.
Everything works with frames. That means you must create a text frame before typing text. You must create an image frame before inserting pictures. This system gives you more control over your design.
Creating Your First Flyer
Let’s create a simple A4 flyer using shotscribus software.
Step 1: Create a New Document
- Click File → New.
- Choose A4 size.
- Set margins to about 15 mm.
- Add a 3 mm bleed if you plan to print professionally.
Step 2: Add a Headline
- Select the Text Tool.
- Make a box at the page’s top.
- Type your headline.
- Increase the font size.
Step 3: Add an Image
- Select the Image Tool.
- Draw an image frame.
- Right-click and import your image.
- Use high-quality images (300 DPI).
Step 4: Add Contact Information
- Insert another text frame at the bottom.
- Add phone number, website, or QR code.
Keep your design clean and simple. Leave space around text so it is easy to read.
Designing a Book Layout
Many self-published authors use shotscribus software to format their books.
Here’s how to start:
- Choose the correct book size (for example, 6×9 inches).
- Set larger inside margins for binding.
- Create master pages for page numbers.
- Use paragraph styles for chapter titles and body text.
Using styles saves time. If you change the font later, it updates everywhere. Below is a helpful comparison for book and flyer settings.
Print Settings for Different Projects
| Feature | Flyer | Book Interior |
| DPI | 300 DPI | 300 DPI |
| Color Mode | CMYK | Black or CMYK |
| Bleed Needed | Yes (3 mm) | Usually No |
| Margins | 10–15 mm | 20–25 mm inside |
| Page Numbers | Not required | Required |
These settings help ensure your printed result looks professional.
Understanding RGB and CMYK
Color is very important in print design.
- RGB is used for screens like phones and computers.
- CMYK is used for printing on paper.
If you design in RGB and print it, colors may look dull or different. That is why shotscribus software allows you to work in CMYK mode. Always check your color settings before exporting your final PDF.
Exporting a Print-Ready PDF
After finishing your design, you must export it correctly.
- Click File → Export → Save as a PDF.
- Choose PDF/X format if your printer asks for it.
- Turn on bleed marks if you added bleed.
- Check image resolution before exporting.
In 2026, a lot of printing companies will like the PDF/X-4 format because it works with current color profiles and transparency.
Before sending your file to print, zoom in and check:
- No missing images
- No spelling mistakes
- No text cut off
Taking a few extra minutes can save money and stress.
Comparing Shotscribus Software with Paid Tools
Many people wonder how this free tool compares to paid design software. Here is a simple comparison:
Free vs Paid Desktop Publishing Tools (2026)
| Feature | Shotscribus Software | Paid Design Tools |
| Cost | Free | Monthly Fee |
| CMYK Support | Yes | Yes |
| Print-Ready PDF Export | Yes | Yes |
| Works Offline | Yes | Some require cloud |
| Learning Curve | Medium | Medium |
You can see that the free version has most of the professional tools. The biggest difference is that paid tools may offer cloud storage or extra templates. For many users, It is more than enough.
Helpful Tips for Better Designs
If you want your layouts to look professional, follow these simple tips.
- Use no more than two or three fonts.
- Keep line spacing comfortable for reading.
- Use high-resolution images only.
- Leave white space around important elements.
Good design is not about adding more. It is about keeping things clear and balanced. Also, always print a test copy before printing 100 copies. It is easier to fix small mistakes early on.
Common Mistakes to Avoid
Beginners often make small mistakes that affect print quality.
- Using low-resolution images can make prints blurry.
- Forgetting bleed can cause white edges after cutting.
- Using too many colors can make designs look messy.
Take your time when setting up your document. Planning before designing saves effort later.
Is Shotscribus Software Good for Beginners?
Yes, but it takes a little while to get used to. At first, the frame-based system may feel different from simple design apps. However, once you understand text frames and image frames, everything becomes easier.
There are many tutorials online that show how to use shotscribus software step by step. After a few projects, you will feel confident. If you are serious about print design, learning this tool is worth it.
FAQs
Is shotscribus software completely free?
Yes, it is free and open-source.
Can I design a full book with shotscribus software?
Yes, you can format and export a complete print-ready book.
Does it work on Windows 11 in 2026?
Yes, it supports Windows 11, macOS, and Linux.
Can I create business cards?
Yes, just set the correct size and bleed.
Is it better than paid design tools?
For many users, it offers enough features without the cost.
Conclusion
Professional print design does not have to be expensive. With shotscribus software, you can create flyers, books, brochures, and business cards for free. In this guide, you learnt how to download and install the program, understand the workspace, design your first layout, manage colors, and export a print-ready PDF.
Whether you are a student, author, teacher, or small business owner, It gives you powerful tools without subscription fees. The best way to learn is to start. Download it today, create a simple flyer or short booklet, and practice. With time and patience, your designs will look professional and ready for print.